Tuesday, 1 January 2013
NEW BLOG
Hey guys with our latest company changes we have moved our blog to a new location, come check it out!!! NEW BLOG CLICK HERE
Tuesday, 11 December 2012
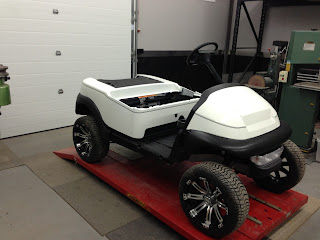
SC Carts 09 Precedent Build 2
The body is sanded and prepped, ready for paint
Here you can see the nose cowl is ready as well
Painted and clear coated now drying
Starting to reassemble the cart
Pinstripe on the nose cowl, really finishes the body
Main body pinstripe on as well
Installing the rear seat kit
This rear seat kit uses the factory seat and roof supports, that why we really like this kit
Seat cushions are installed
New upholstery on the front as well, it's starting to look like a cart now
We installed a battery level meter in the factory battery indicator location
The new black roof is now installed and looking really good
All finished with the tinted windshield
Taking some photos out in the BC snow
Back inside where it will stay until it's sold! Check out the first part of the build here |09 Precedent Build|
Tuesday, 4 December 2012
Phazer Builds 3
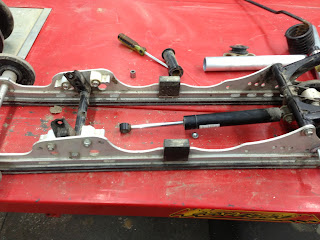
As we wait for some parts to come in for the engine end of the build we decided to move onto the skid
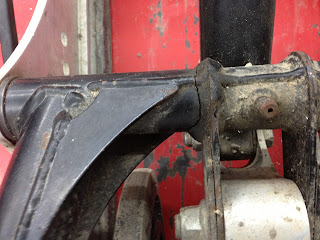
After closer inspection we discovered the front lower portion of the arm was cracked right through, so we will be repairing that.
We have also decided to do away with the steel springs and build a custom rear arm and spring setup
We will also be eliminating the whole aluminum block/pivot point
Here is the rear are removed
We are still going to use the lower pivot point and attach our new arm and shock setup to it
This is as far as we are taking the skid down for now, this way we can build our new arms and fit them, then we will take the skid right apart and send it off to powder coating with the rest of the completed parts
Onto the tunnel, the boards on these machines need some serious upgrades
The rear portion on the tunnel is also weak once you remove the steel so we are marking off where we are going to remove it.
Another angle of where we are going to cut, we like to use tape, makes it easy to mark out and follow
Obviously doing the same to the other side
Here is the first board cut off
We left a bit of a lip on the tunnel, this will act as a tie in/support for the new running boards
Both boards cut off
Both boards and the rear section of the tunnel remove!
Now were having fun
All cleaned up and ready to move on to making the rear portion of the tunnel, we could have built a complete new tunnel, however we didn't see much of a benefit as we would have simply had to duplicate the front portion anyways.
Even though we have high tech 3d modeling software, sometimes you just have to break out the good old construction paper and build a template!
Here we are laying out the template, next scissors. Arts and craft time at Simolo Customs
There's the template, ready to put it to metal
Another shot to get the whole machine in
Now we lay the template on the piece of aluminum we just sheared
We have predetermined reference marks that we have laid out, this was determined from the test pieces we did last week
No fancy tools for this, just used a band saw, you can see in this photo it's still not completely cut out
Here it is rough cut and ready to be formed on the press brake, once it is formed and we do a test fit we will then do all the finishing work. We don't want to spend hours finishing the material if we find out we don't like it or if it doesn't fit.
Here we are making the first bends on the tunnel which are the least of the two angles, we are matching the Yamaha factory tunnel
You can see both bends are the same now to move onto the final two bends
Here it is back in the press brake, bending the second set of big angles
A picture from the back side to see what's going on
Second side getting the same treatment
We are happy with the look of it
Now to see if it fits
Fits awesome
We like the look of it, and once it is powder coated you will never know it is two pieces
Nice and square, it fits so tight that it holds it self in place
Now it's time to clean the tunnel up, do all the finishing work, finish the back of the tunnel, and then attach it to the front portion of the tunnel. We can then drill the skid attach points and build the running boards.
If you haven't seen the start of this build head here | Phazer build|
Subscribe to:
Comments (Atom)


